After a participant completes the consent and PROMS in REDCap (see REDCap for more information) a QR code will auto-generate that is unique to the participant. This is the QR code that you will use for the participants' entire trial.
During the data collection (see Data Collection for more information) select a camera that will be your designated “QR Scanner” Camera for the session.
At the beginning of every trial, hold the QR code a few inches away from the designated camera so that the QR code is recorded for the first ~3-5 seconds of the trial.
Note: Make sure that the entire QR code is within view of the camera. Make sure to limit glare, and that the QR code is clearly visible.Without stopping the recording, remove the QR code from the view, and proceed with the rest of the trial.
The calibration QR code is a set QR and does not need to be regenerated every time.
Select a camera that will be your designated “QR Scanner” Camera. Make sure the designated “QR Scanner” camera is the same one you use throughout the entire session.
At the beginning of every calibration trial, hold the QR code a few inches away from the designated camera so that the QR code is recorded for the first ~3-5 seconds of the trial.
Note: Make sure that the entire QR code is within view of the camera. Make sure to limit glare, and that the QR code is clearly visible.Without stopping the recording, remove the QR code from the view, and proceed with the calibration (see Calibration for more information).
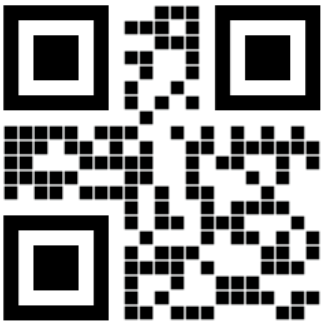
Calibration QR Code.
Download this and use it during every calibration trial